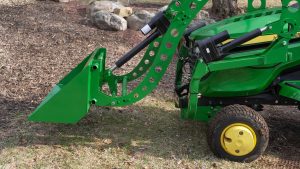

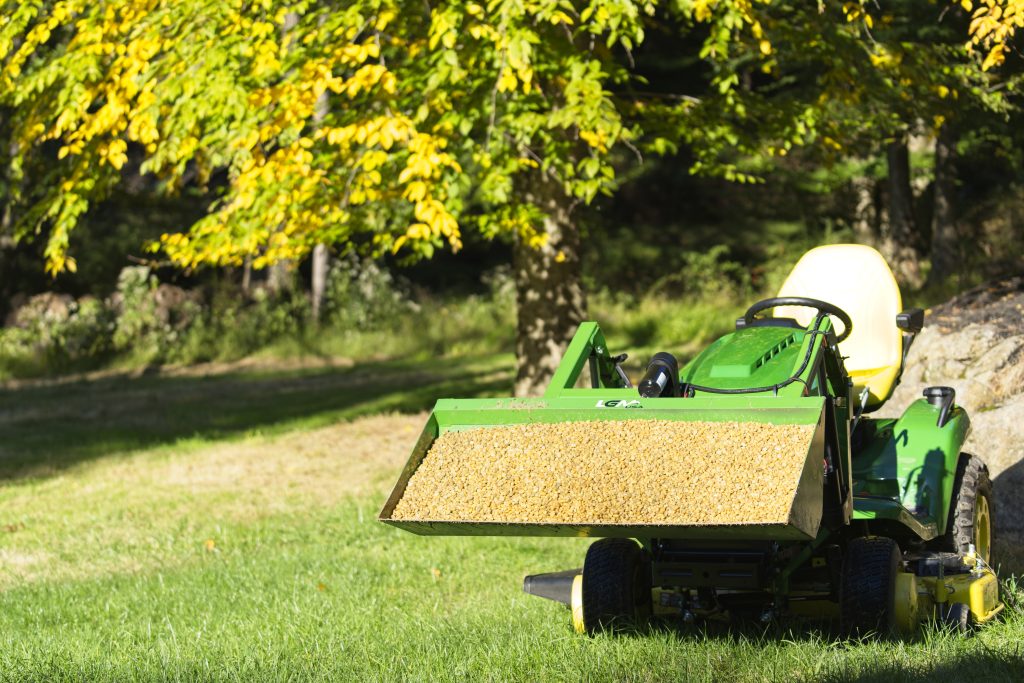
You know that feeling when you first bolt on a new front-end loader? It’s like your garden tractor just grew a pair of biceps. Suddenly, that mountain of mulch isn’t a weekend-long backache, it’s a twenty-minute fun run. We’ve been working with heavy equipment and compact tractor attachments for the better part of two decades, and we can tell you there’s nothing quite as satisfying as a machine that works exactly when you need it to.
But here’s the flip side we’ve seen too many times: a perfectly good loader sitting rusting in a shed, or worse, failing right in the middle of a job because of something simple. We tend to treat these attachments like they’re invincible chunks of steel. And sure, they’re tough, especially the American-made steel we see on units like the LGM-100, but they aren’t magic. They need a little looking after.
If you want to keep your gear running smoothly season after season, you don’t need a degree in mechanical engineering. You just need a routine. Today, we’re going to walk you through some practical front-end loader maintenance strategies that we have learned the hard way, so that you don’t have to.
In the aviation world, pilots never take off without a walkaround; you should treat your loader the same way. Before you even turn the key, take two minutes to look at the thing.
We’re talking about a visual inspection: what are you looking for? cracks in the paint (which can indicate stress on the steel), loose nuts, or anything that doesn’t look right. With compact loaders, vibration is the silent killer. It slowly loosens bolts out of their threads. We cannot tell you how many times we have seen a lift arm get tweaked simply because one bolt fell out, putting all the stress on the remaining ones.
Give the loader frame a shake. Check the mounting points where it connects to your tractor’s chassis. If you catch a loose fastener now, it’s a ten-second fix with a wrench. If you catch it after the bracket bends, it becomes a credit card problem.
If there is one mantra we want you to take away from this, it’s this: Grease is cheap, parts are expensive.
Every pivot point on your loader (where the arms connect to the uprights and where the bucket connects to the arms) is a ‘metal-on-metal’ friction zone. Without lubrication, that metal grinds away every time you lift or dump. Over time, a nice, tight circular hole turns into an oval, and suddenly your bucket is wobbling like a loose tooth.
Loader attachment maintenance tips often overcomplicate this. You don’t need fancy synthetic compounds for a garden tractor loader (though they don’t hurt). You just need consistency.
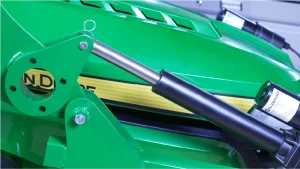
Now, this is where we get specific to the modern compact loader. A lot of you reading this on LGM USA are likely running electric linear actuators rather than hydraulics. This is actually great news for maintenance because you don’t have to worry about messy hydraulic fluid leaks, blown hoses, or changing filters.
However, electric systems have their own needs.
The Actuators: Your linear actuators are the muscles. They do the heavy lifting. The chrome shaft (the inner tube that slides in and out) needs to be kept clean. If you leave caked-on mud or cement dust on that shaft, it can damage the wiper seal when it retracts.
The Nervous System (Wiring): On an electric loader, the wiring harness is the nervous system. Since these loaders are often removable, the connectors see a lot of action. Check your plugs. Are the pins straight? Is there any green corrosion building up? A little dab of dielectric grease on the connectors can save you a world of frustration with intermittent connections later on.
Also, watch for “pinch points.” When you raise and lower the boom, does the wire pull tight or rub against a sharp metal edge? Over time, that rubbing will wear through the insulation and short out the system. Secure any loose wires with zip ties, leaving enough slack for a full range of motion.
The bucket takes the most abuse. It’s scraping concrete, digging into rocks, and banging against roots.
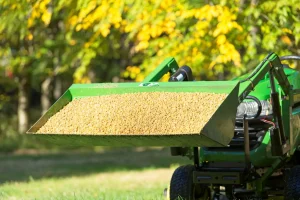
Most wear happens at the cutting edge, the front lip of the bucket. If you let this wear down too far, you start wearing into the actual structural metal of the bucket itself. That’s a much harder fix.
We know, we know. You finished plowing the driveway, it’s 10 degrees out, and you want to get inside for a coffee. But where you park your machine matters.
If you leave your tractor and loader outside, tarp it. UV rays from the sun are brutal on plastic connectors and wire insulation. Rain and snow sitting in the bucket can freeze, expanding and potentially warping things, or just accelerating rust.
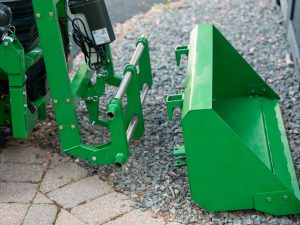
If you detach the loader to mow the lawn, store the attachment on a pallet or blocks. Don’t leave it sitting directly in the dirt. Moisture wicks up from the ground and will rust the bottom of the bucket and seize up your mounting pins.
We can talk about grease and bolts all day, but the biggest factor in how to extend the life of loader attachments is the person in the seat: you.
We have seen people try to use a garden tractor loader like it’s a D9 Bulldozer. They ram into a pile of hard-packed dirt at full speed to get a full scoop. That shock load travels through the bucket, into the arms, through the actuators, and right into your tractor’s frame. It’s the fastest way to bend something.
The “Sip, Don’t Gulp” Method: Instead of ramming, drive into the pile slowly. Push in, then lift the bucket slightly to put weight on the rear tires (traction!), then push a little more, then lift. It’s a finesse game, not a demolition derby.
Know Your Limits: The LGM-100 is a beast for its size, with a lift capacity of around 350 to 400 lbs. That’s a lot of mulch, gravel, or snow. But if you try to lift a massive boulder that clearly weighs 600 lbs, you are straining the actuators and the motor. The thermal overload might save you once or twice, but keep doing it, and you’ll burn something out. Listen to your machine if it’s groaning and struggling. Back off.
Since we are talking about electric loaders, we have to mention the tractor’s battery. Your loader is drawing power from the tractor’s charging system.
If your battery is old and weak, the actuators won’t get the voltage they need. Low voltage means higher amperage to do the same work, which creates more heat in the wires and motors. It’s a vicious cycle.
Maintaining a front-end loader isn’t about spending hours in the garage every weekend. It’s about awareness. It’s about hearing a squeak and grabbing the grease gun instead of turning up the radio. It’s about noticing a loose bolt before it falls out.
Your LGM loader is designed to save you labor, time, and back pain. If you give it just a little bit of respect and care in return, it will be the most reliable tool in your arsenal for years to come. So, next time you park the tractor, give that loader a quick pat, check the pivots, and rest easy knowing it’ll be ready to work when you are.
Now, check those mounting bolts; we bet at least one of them needs a quarter-turn.
Regular cleaning prevents dirt, moisture, and corrosive chemicals from building up on the loader. It also keeps pivot points and electrical components free of debris, reducing friction and helping maintain long-term structural and mechanical performance.
Heavy lifting and vibration can loosen bolts and pins over time. Periodic inspection and tightening ensure the loader stays securely attached, preventing frame damage and maintaining stable operation.
Lubrication reduces metal-on-metal friction, protects against moisture and grit, and extends the life of pins and bushings. Regular greasing ensures smoother movement and prevents premature wear or binding.
The wiring harness should be checked regularly for damage, and dielectric grease can be applied to prevent corrosion. Keeping the actuator clean and dry helps preserve seals and ensures consistent electrical performance.
The loader should be stored in a dry, covered space and placed on a dolly or pallet to keep it off the ground. This prevents rust, protects components, and makes future reinstallation easier.

© 2026 All Rights Reserved | LGM USA LLC
Added to cart
Check out our shop to see what's available