
A mower that quits in the middle of the season can wreck a weekend fast. A little upkeep early on helps you avoid preventable breakdowns and dead-start mornings. Stay on top of basic upkeep and you avoid preventable downtime and the kind of dealership bills that ruin a weekend. Anyone who has turned the key on a Saturday and gotten nothing but a weak sputter knows the feeling.
This breakdown walks through the proven mechanical habits and daily routines that keep a lawn tractor reliable for years. You will learn exactly how to optimize fuel delivery, protect critical internal components, and maximize tire traction. Simple adjustments make sure horsepower actually makes it down to the ground where it belongs. Here are the fundamental maintenance steps that keep the heart of your equipment beating strong.
You cannot demand peak output from a machine if you neglect what is under the hood. Proper tractor engine care is the foundation of a long-lasting, hard-working piece of equipment. Start with oil, because it is the lifeblood of the internal motor. Over time, extreme heat and internal friction break down the viscosity of the motor oil.
The fluid turns from a slick, protective barrier into a thick, sludgy mess that creates internal drag. When the oil breaks down, the engine has to work significantly harder just to turn itself over. Less power gets delivered to the wheels or to whatever attachment you are pushing. Make it a strict rule to change the engine oil and the filter before it turns black.
Look closely at the hour meter on the dashboard, not just the calendar on the garage wall. If you have been running the equipment hard through a hot summer, change that fluid sooner. Pushing a few hundred pounds of mulch around the yard puts real stress on the internal components. Never cheap out on the oil quality, regardless of the brand you run.
Use the exact grade and weight recommended by the manufacturer for your specific climate. Running a heavy winter-weight oil in the middle of a blazing July afternoon causes the engine to overheat. That ultimately robs you of the torque you need to finish weekend yard work without dragging the job into the evening. Checking the dipstick before every operation takes ten seconds and prevents catastrophic internal failure. At LGM USA, we see firsthand how well-maintained engines handle aftermarket attachments with total ease. For a deeper look at keeping your loader in shape, our front-end loader maintenance tips are worth bookmarking.
Look, hauling your tractor down to the local dealership just for a standard oil change is a waste of a good Saturday. Tackle this job right in the driveway and save both time and cash. It only takes a few minutes once you get the hang of it. Here is exactly how to handle it and keep the internal parts running cool and protected.
Step 1: First things first, fire up the motor for about five minutes. You want that old oil to be nice and warm so it flows out easily. Cold oil gets thick like molasses and leaves a bunch of dirty sludge stuck to the bottom of the pan. Getting it hot ensures all those tiny metal shavings drain out with the fluid.
Step 2: Find a totally flat spot on the concrete driveway and lock down the parking brake. Never mess around with oil changes on a dirt incline or out on the lawn. You do not want a heavy piece of equipment rolling on you while you are reaching underneath. Safety always comes first when you are wrenching at home.
Step 3: Slide a good-sized drain pan right under the plug and crack it open. Let that dark oil pour out, and honestly, just walk away for about ten minutes. You want every last drop of the nasty stuff to drip out of the block. Rushing this step just leaves dirty oil behind to immediately mix with the fresh stuff.
Step 4: Grab the old oil filter and spin it off, making sure the old rubber O-ring comes off with it. Then take a clean shop rag and wipe the metal mounting base on the engine completely spotless. If you leave any gritty dirt on that base, the new filter is never going to seal properly. A bad seal means a massive oil leak the second you start the engine.
Step 5: Dip your finger in the fresh motor oil and smear a coat around the new filter’s rubber gasket. Thread it onto the block by hand and snug it up tight with your bare hands. Never use a metal filter wrench to tighten these things down. If you crank it down with a wrench, it will permanently seize, and you will hate yourself next season.
Step 6: Thread the drain plug back in securely, making sure you do not accidentally cross-thread the metal. Grab a clean funnel and pour in the exact weight of fresh oil recommended for your climate. Pull the dipstick, wipe it clean, and check the level twice before you ever turn that key. Once it reads full, you are good to get back to work in the yard.
Friction is the enemy of mechanical efficiency on any property. Every pivot point, metal bearing, and steering joint that grinds against dry metal steals power. That actively pulls energy away from the yard work you are trying to finish. If you want everything moving smoothly and efficiently, you have to become best friends with your grease gun.
This is one of those tractor service tips that often gets overlooked by busy homeowners. Many folks just want to quickly cut the tall grass and head back inside to the air conditioning. Walk around the machine and carefully locate every grease zerk fitting. They are tucked on the loader arms, the steering knuckles, and the mower deck spindles.
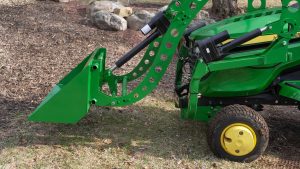
If you are running a front-end loader, those specific pivot points take serious twisting stress. Dry pivot points bind up tight, forcing the lifting system to work twice as hard to hoist a bucket. That drags down your overall efficiency and burns more fuel per hour. Pump fresh, high-quality lithium grease into those tiny fittings regularly to prevent binding.
Building a quick daily habit prevents big headaches when you are out in the yard working. Before turning the key, run through this short checklist:
You can have the strongest, best tuned engine in the entire neighborhood. But if the tires are just spinning helplessly in wet mud, your actual work output is zero. Getting the power securely to the ground is a big part of the overall performance equation. Optimal output relies on solid traction in the soft dirt.
It starts with setting the proper tire pressure for the terrain you are working on. Too much air causes the machine to bounce all over the yard, losing traction. Over-inflated tires also compact the topsoil, which is rough on the grass roots. Too little air, and you risk popping a bead off the rim under a heavy payload.
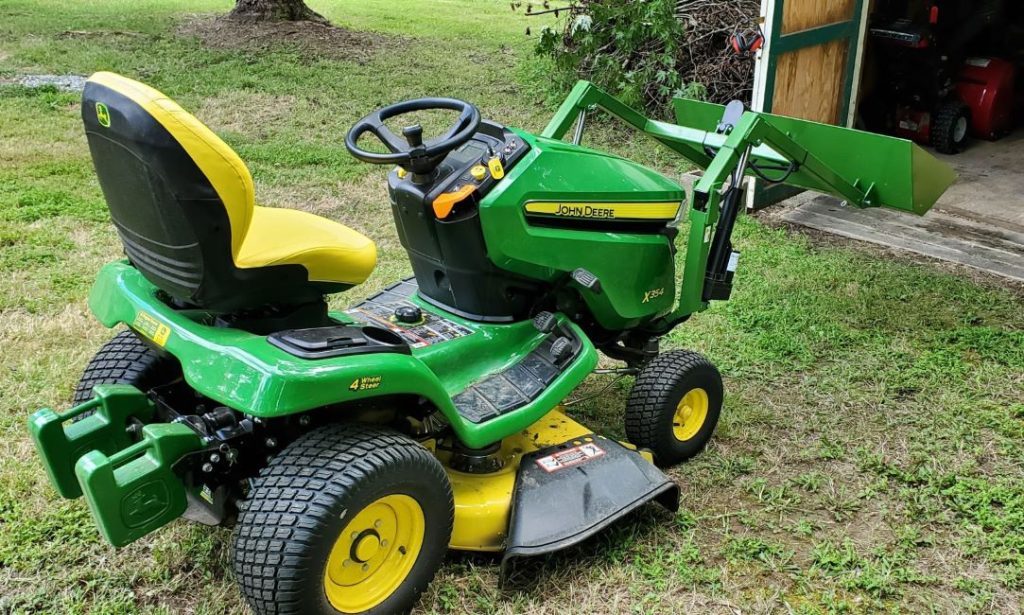
Beyond air pressure, you have to talk seriously about rear ballast. When you add weight to the front, it changes the center of gravity. For popular models like the John Deere X300/X500 series, proper ballast is critical. It keeps the operator safe and lets the machine actually push the load instead of just spinning the front tires.
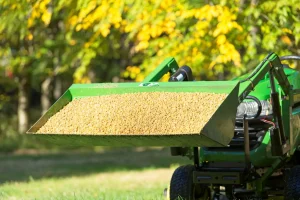
A rear ballast box or cast-iron wheel weights both work well. Liquid-loaded tires, using a safe liquid like beet juice, also keep the rear end planted. When the tires are firmly pressed into the dirt by extra weight, the machine actually puts torque to the ground. Stable footing matters when you are running an attachment like the LGM-100 electric loader.
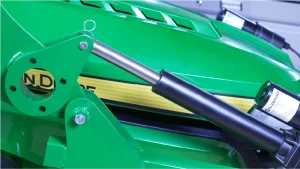
On an electric loader like the LGM-100, the actuator and 12V power line are what do the work. It lifts the loader arms, turns the power steering wheel, and operates the rear implements. If the hydraulic fluid is low or contaminated with dirt, the machine suffers. The equipment is going to feel weak, jerky, and unresponsive during operation.
Hydraulic fluid does not just transfer lifting power, it also cools the internal pump components. Keep a close eye on the hydraulic fluid sight glass or the rear dipstick. If the fluid looks milky or cloudy, water has gotten into the closed system. It needs to be flushed immediately to prevent internal rusting and total pump failure.
You also cannot ignore the 12-volt electrical system. Often, the issue behind a sputtering machine is simply a bad ground wire or dead battery cell. Modern equipment relies on a solid, uninterrupted electrical connection to function properly. Make it a habit to pop the hood and look directly at the battery terminals monthly.
Take a stiff wire brush and clean those lead terminals down to bare shiny metal. After cleaning, coat them with a protective dielectric grease to keep moisture out. A healthy electrical system makes sure the machine starts on the first turn of the key. At LGM USA, we know solid wiring is crucial for running modern electric attachments. If you are wondering whether the electric setup actually has the muscle for what you want to do, this post on whether an electric front-end loader is powerful enough for home projects walks through real-world use cases.
We hear a lot of the same questions from homeowners looking to get more out of their yard machinery. Here are some of the most common ones about routine upkeep and capability upgrades.
Keeping your equipment reliable comes down to building solid daily habits in the driveway. Focusing on clean air intake, fresh fluids, and proper ballasting makes sure you are ready for the tough jobs. Solid electrical health keeps your gear prepared for the worst.
Sometimes the best maintenance routine is not enough when your weekend project list outgrows what the tractor can do on its own. If you need more versatility, the team at LGM USA is here to help. We specialize in turning standard lawn tractors into versatile, earth-moving tools for homeowners.
There is no reason to let weekend yard projects pile up and ruin your days off. Reach out today and let us show you how the LGM-100 loader saves time and serious back strain. Browse our online inventory and let’s build the right setup for your X300 or X500.

© 2026 All Rights Reserved | LGM USA LLC
Added to cart
Check out our shop to see what's available