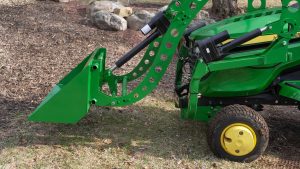

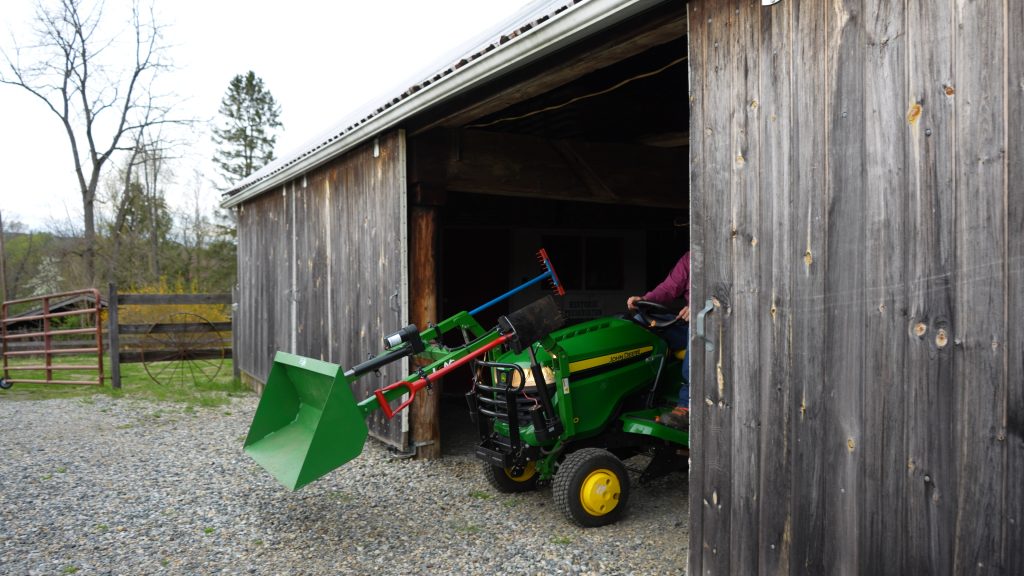
Taking care of your property often means knowing how to swap out your front-end attachments quickly and safely. When it comes to tractor loader removal, learning the ins and outs of your machine is a big part of being a responsible owner. Mastering this skill early on saves you a lot of time and frustration down the road.
Many people feel a little intimidated the first time they have to disconnect their front-end bucket in the driveway. If you run an LGM-100 on a John Deere X300 or X500, removing it gets a lot easier once you know the order: park level, lower the bucket, disconnect power, then work through the mounting points one step at a time. The LGM-100 is electric, so there are no hydraulic hoses or fluid to manage like older-style loaders that can easily pinch your fingers. With a little patience and the right technique, you’ll be popping off that frame in just a few minutes.
Every manufacturer has a slightly different design, but the core mechanical principles generally remain the same. Taking the time to understand how your specific mounting hardware functions is the best way to build operating confidence. Let’s walk through the steps so you can get back to weekend yard projects with peace of mind. If you want a fuller picture of upkeep, our front-end loader maintenance tips are worth a read after this.
Safety should always be your top priority whenever you are dealing with a heavy front-end loader. Find a flat, hard, and level concrete surface to park on before you even touch a wrench. Trying to disconnect heavy steel components on soft dirt or uneven gravel is asking for an accident.
Before you start pulling pins and disconnecting hoses, it’s important to have the right gear staged nearby so you aren’t running back to the garage. Set up a small workstation right next to your tractor to keep everything organized and within arm’s reach. Here are a few essentials you should have ready before you start:
Before turning any wrenches, always read through the detachment section in your owner’s manual at least once. Start by lowering the bucket completely flat to the ground and deploying the integrated steel parking stands on both sides. Make sure the retaining pins for the support legs are locked firmly in place before you move on.
The next phase depends on what kind of loader you are running. On a hydraulic system, you must turn the engine off and move the joystick in all four directions a few times. This relieves any trapped pressure inside the lines, so you can pull the quick-disconnect fittings apart safely. On an electric loader like the LGM-100, you do not have hydraulic fluid to manage. Disconnect the power connections exactly as outlined in the LGM instructions before removing the mounting hardware.
If your loader uses hydraulics, with the internal pressure fully relieved, you can start popping off the rubber lines one by one. It’s a smart habit to immediately cap the exposed brass ends with their matching rubber dust covers to prevent dirt contamination. If your machine doesn’t have color-coded rings, taking a quick picture with your smartphone helps you remember the correct order later.
Take a quick second to inspect the hoses for any deep cracks or weather checking. Catching a degraded hydraulic line right now prevents a fluid blowout in the middle of a project. A quick wipe with a clean rag keeps everything slick and ensures a tight seal when you hook it back up.
It’s also smart to keep a few spare rubber o-rings tucked away in your tractor toolbox just in case. Those tiny seals can easily get pinched or torn when you’re wrestling with a stubborn brass coupling. Swapping out a damaged o-ring takes less than a minute and stops those annoying leaks from ruining your driveway.
Now it’s time to slide out the steel anchor pins that lock the lifting arms to the tractor frame. Sometimes these pins slide out smoothly, but other times they require a little gentle persuasion with a rubber mallet. If they feel totally bound up, hop back in the seat and wiggle the steering wheel slightly to relieve the mechanical tension.
If you live in an area with heavy winter salt or high humidity, those anchor pins are notoriously prone to surface rust. Taking a wire brush to the pins and coating them with anti-seize compound before reinstalling is a great preventative habit. This small extra step practically guarantees they will slide out easily the next time you need to switch back to your mowing deck.
Once the pins and any hydraulic or electrical connections are fully disconnected, you are ready to separate the two main components. Restart your engine, put the transmission in the lowest reverse gear, and slowly creep backward an inch at a time. Watch both sides closely to make sure the front tires are clearing the resting steel support legs.
If you feel any sudden resistance or hear metal scraping against metal, stop the machine immediately and engage the parking brake. Hop out and double-check that every hose and wire is clear and no hidden latches are still engaged. It feels good when you successfully remove a tractor loader without a single snag or scratched piece of green paint.
Even seasoned owners occasionally run into frustrating mechanical hiccups when trying to separate a front-end attachment. If one side of the loader frame seems hung up, double-check that your concrete parking surface is truly flat and level. A slight unseen dip in the floor can put uneven pressure on the mounting pins, making them virtually impossible to pull by hand.
Another common issue is dealing with an integrated parking stand that refuses to lock securely into its downward position. Sometimes dried mud or packed yard debris gets jammed inside the folding mechanism, preventing the safety latch from fully engaging. Taking a long screwdriver and scraping out that packed dirt makes sure the steel legs can safely support the full weight of the bucket.
Figuring out exactly where to store your detached front-end loader is just as important as knowing how to take it off. If you have to leave it sitting outside, cover the connections with a heavy-duty waterproof tarp. Keeping the harsh sun and freezing winter rain off the sensitive parts will significantly extend their lifespan.
A lot of homeowners build heavy-duty wooden dollies with strong caster wheels for indoor storage. These rolling platforms let you push the steel structure right into a tight corner of your garage. It’s a great weekend project that saves a ton of valuable floor space inside a crowded garage.
When you take a few hundred pounds off the front nose, you change the overall weight distribution and handling. A lighter machine with heavy ballast in the rear can feel light up front and a little squirrelly to steer. You might need to drop some iron wheel weights from the rear to regain a balanced center of gravity.
With the lifting structure out of the way, you also have unrestricted access to the main frame rail bolts. With the loader off, it’s a good time to visually inspect mounting hardware and follow your John Deere and LGM manuals for any torque checks.
Having the front bucket out of your way gives you a rare, unobstructed view of your entire steering linkage. It’s the perfect time to grab a flashlight and inspect your tie rod boots for any tears or leaks. Catching a failing steering component now in the safety of your garage is infinitely better than having it snap on you out in the yard.
You should also use this clear access to inspect the hydraulic lines (if you have them) routing from the central pump up to the front. Look for any spots where the hoses might be rubbing against the sharp edges of the steel frame. Wrapping a piece of protective plastic loom around those high-friction areas will save you from a burst hose later this summer.
Every piece of yard machinery relies on routine chassis lubrication to keep things working smoothly. With the loader frame safely on the ground, you can finally reach those tricky zerk fittings hidden behind the front axle. Pumping fresh grease into these pivot points pushes out the abrasive dirt and moisture that causes premature bearing wear.
Don’t forget to grease the pivot pins on the detached loader arms while they’re sitting right there in front of you. Wiping away the old contaminated grease with a shop rag before pumping in fresh stuff is a recommended best practice. This simple five-minute routine makes sure your lifting cylinders or actuators operate smoothly the next time you hook everything back up.
Mastering your equipment should be an empowering experience for every owner. Taking the time to learn a safe tractor loader detach procedure makes sure you get the most value out of your machine. Sharing these practical, hands-on tips with neighbors helps everyone operate their yard equipment safer.
Pull your tractor into the driveway this weekend and practice these steps a few times. The more familiar you become with the linkages, the less daunting the seasonal chore will seem. You’ll quickly realize just how versatile and capable your lawn tractor really is when properly set up for the job.
We hope this breakdown helps you tackle property maintenance tasks with confidence. If you’re looking to upgrade your front-end attachment or need some advice, reach out to us today. Our team at LGM USA LLC is always ready to help with your equipment questions.
If you’re an X300 or X500 owner thinking about a front-end loader for the first time, the guide on choosing the right front-end loader for your lawn or garden tractor is a good place to start. We’ll help you figure out the right setup for your yard.
Need a part? We’ve got you. Just shoot us a note or give us a call. We love talking shop with fellow homeowners and helping you find the right setup for your weekend projects. Visit us online at https://lgmusa.com/ today and let us help you get the most out of your tractor.
The LGM-100 system is specifically engineered to maintain full mower functionality while the loader is attached. You can leave the assembly in place for most tasks, though removing it is essential when switching to specialized front-mounted attachments like a snow blower.
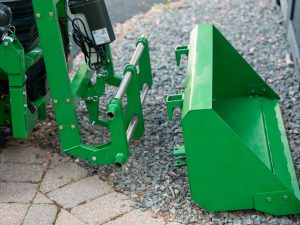
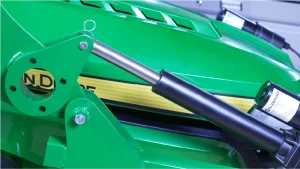
This loader features a streamlined mechanical design that avoids complex hydraulics. By simply disconnecting the electrical harness and pulling the quick-release clevis pins, you can separate the lift-arms and uprights from the tractor frame in just a few minutes without specialized tools.
To keep your workspace organized and the loader protected, LGM USA recommends lowering the detached assembly onto a standard furniture dolly. This setup keeps the components off the damp floor and allows you to easily roll the heavy unit into a corner.
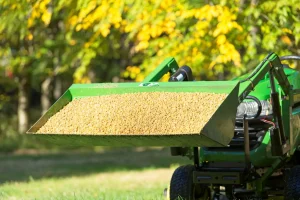
First, raise the lift-arms and tilt the bucket until the leading edge is perpendicular to the ground. Once positioned, you must disconnect the wiring harness extension that provides power to the electric linear actuator, ensuring no tension remains on the electrical system before mechanical disassembly.
After the main arms are detached, you must remove the harness from the uprights and unfasten the specific hardware securing them. By unscrewing the 1/2″ and 3/8″ bolts along with the 5/16″ nuts, the uprights can be slid off the frame for a clean tractor profile.

© 2026 All Rights Reserved | LGM USA LLC
Added to cart
Check out our shop to see what's available